Spacewalk : インストール2015/03/30 |
|
Red Hat Satellite のオープンソース実装である Spacewalk のインストールと設定です。
Spacewalk により、設定管理、ソフトウェア管理、サブスクリプション管理、プロビジョニング等が可能となります。
|
|
| [1] | Spacewalk のインストールに必要なリポジトリを設定しておきます。 ダウンロードする RPM は最新版を確認してインストールしてください。 |
|
[root@dlp ~]#
[root@dlp ~]# yum -y install http://yum.spacewalkproject.org/latest/RHEL/6/x86_64/spacewalk-repo-2.2-1.el6.noarch.rpm cat > /etc/yum.repos.d/jpackage-generic.repo << EOF
[jpackage-generic] name=JPackage generic mirrorlist=http://www.jpackage.org/mirrorlist.php?dist=generic&type=free&release=5.0 enabled=1 gpgcheck=1 gpgkey=http://www.jpackage.org/jpackage.asc EOF |
| [2] | Spacewalk をインストールします。バックエンドで利用するデータベースは PostgreSQL, Oracle 10g 以降から選択可能ですが、ここでは PostgreSQL で進めます。 |
|
# EPELを有効にしてインストール [root@dlp ~]# yum --enablerepo=epel -y install spacewalk-setup-postgresql spacewalk-postgresql perl dojo
|
| [3] | Spacewalk のセットアップです。 |
|
[root@dlp ~]# spacewalk-setup --disconnected ** Database: Setting up database connection for PostgreSQL backend. ** Database: Installing the database: ** Database: This is a long process that is logged in: ** Database: /var/log/rhn/install_db.log *** Progress: # ** Database: Installation complete. ** Database: Populating database. *** Progress: ##################################### * Setting up users and groups. ** GPG: Initializing GPG and importing key. ** GPG: Creating /root/.gnupg directory You must enter an email address. # 管理者のメールアドレス設定 Admin Email Address? root@dlp.srv.world * Performing initial configuration. * Activating Spacewalk. ** Loading Spacewalk Certificate. ** Verifying certificate locally. ** Activating Spacewalk. * Enabling Monitoring. * Configuring apache SSL virtual host. # そのまま Enter (SSL 有効で設定) Should setup configure apache's default ssl server for you (saves original ssl.conf) [Y]? ** /etc/httpd/conf.d/ssl.conf has been backed up to ssl.conf-swsave * Configuring tomcat. * Configuring jabberd. * Creating SSL certificates. # CA 証明書のパスワード設定 CA certificate password? Re-enter CA certificate password? # 組織名 Organization? ServerWorld # 部門名 Organization Unit [dlp.srv.world]? # メールアドレス Email Address [root@dlp.srv.world]? # 所在地#1 City? Hiroshima # 所在地#2 State? Hiroshima # 国コード Country code (Examples: "US", "JP", "IN", or type "?" to see a list)? JP ** SSL: Generating CA certificate. ** SSL: Deploying CA certificate. ** SSL: Generating server certificate. ** SSL: Storing SSL certificates. * Deploying configuration files. * Update configuration in database. * Setting up Cobbler.. Processing /etc/cobbler/modules.conf `/etc/cobbler/modules.conf' -> `/etc/cobbler/modules.conf-swsave' Processing /etc/cobbler/settings `/etc/cobbler/settings' -> `/etc/cobbler/settings-swsave' # そのまま Enter (PXE プロビジョニング機能有効) Cobbler requires tftp and xinetd services be turned on for PXE provisioning functionality. Enable these services [Y]? * Restarting services. Installation complete. Visit https://dlp.srv.world to create the Spacewalk administrator account. |
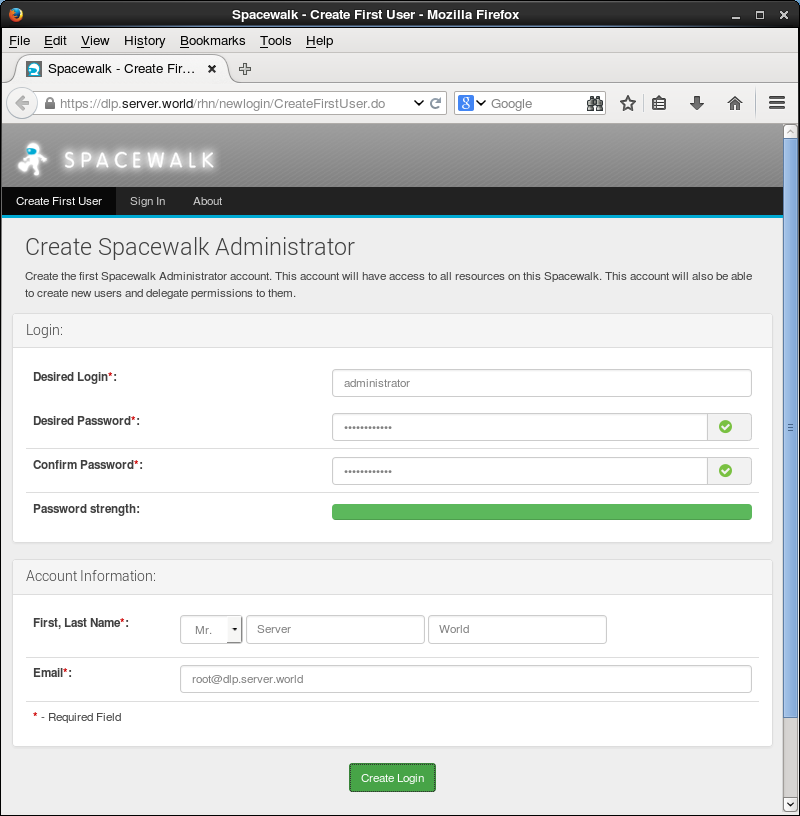
| [4] | 任意のクライアントコンピュータで Web ブラウザを起動し、「https://(Spacewalkサーバーのホスト名またはIPアドレス)/」にアクセスします。 すると以下のような画面になります。任意の管理者ユーザー名とパスワードを設定して「Create Login」ボタンをクリックします。 |
|
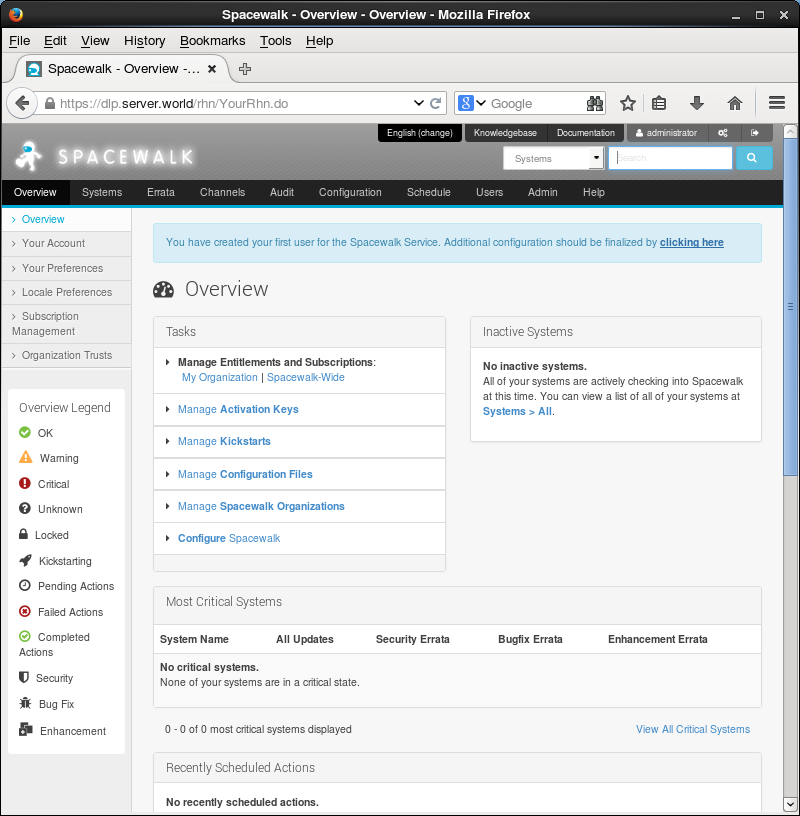
| [5] | ログインできました。SpaceWalk のメイン画面になります。 |
|
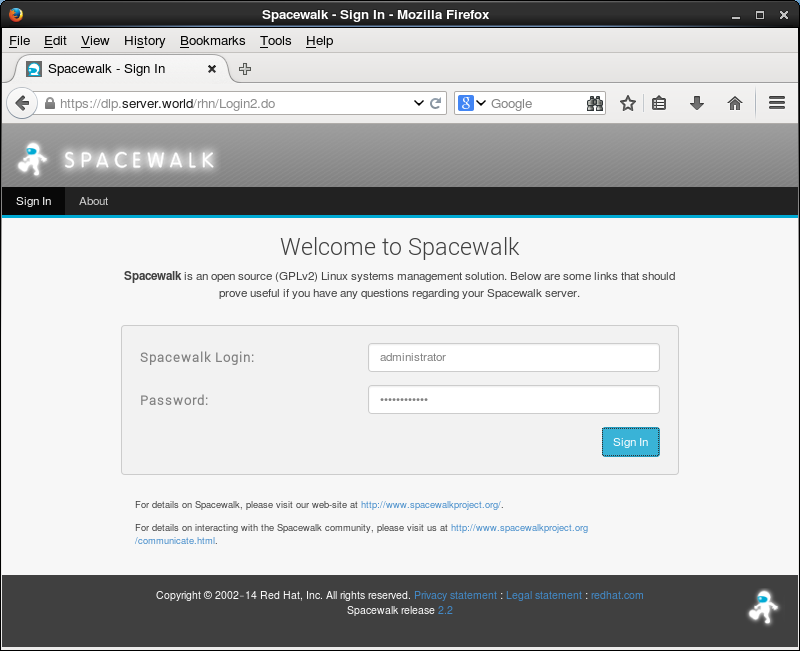
| [5] | 次回ログインからはスタート画面がログイン画面になるので、設定したユーザーでログインして操作します。 |
|
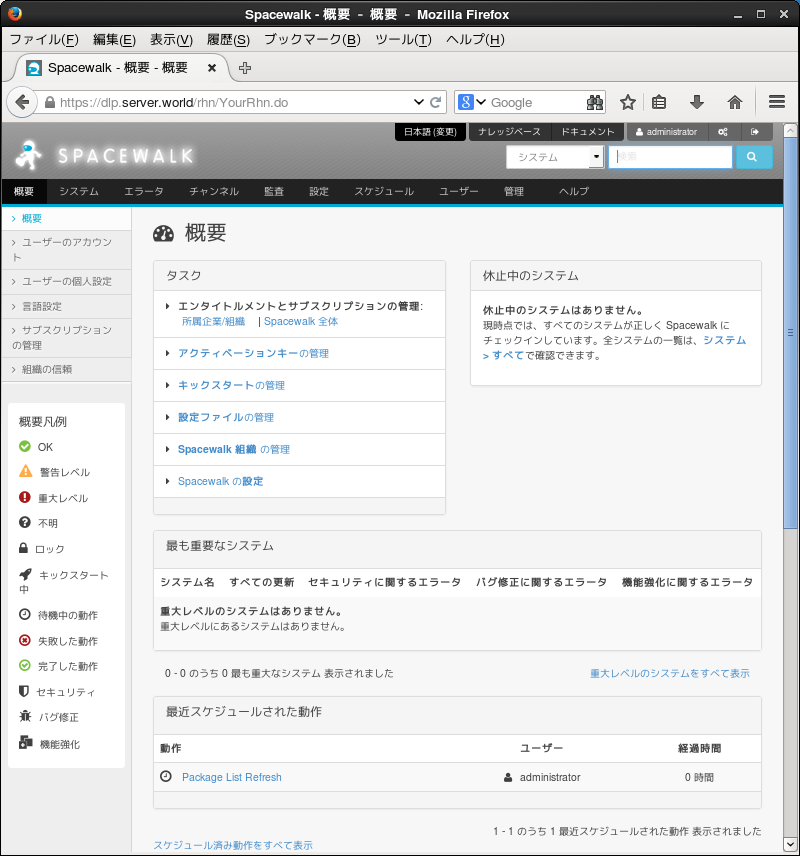
| [6] | なお、サンプル画面は英語表示となっていますが、日本語環境でアクセスすれば日本語で表示されます。 |
|
関連コンテンツ