Oracle Database 11g R2 インストール2014/10/05 |
|
Oracle Database 11g R2 をインストールします。
|
|
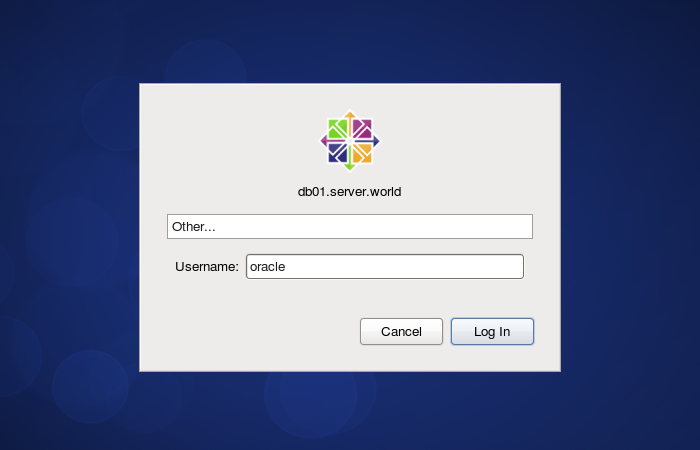
| [1] | 作業はインストール前の環境設定で作成した oracle ユーザーで進めるため、oracle ユーザーでログインしておきます。 |
|
| [2] |
Oracle Databse 11g R2 の Linux 用インストーラーを下記サイトからダウンロードしてサーバーの作業用一時ディレクトリにアップロードしておきます。
http://www.oracle.com/technology/software/products/database/index.html |
| [3] | ダウンロードしたファイルがある場所へ移動し、以下のようにファイルを展開してインストーラーを起動します。 |
|
[oracle@db01 ~]$ cd tmp [oracle@db01 tmp]$ unzip linux.x64_11gR2_database_1of2.zip [oracle@db01 tmp]$ unzip linux.x64_11gR2_database_2of2.zip [oracle@db01 tmp]$ ./database/runInstaller
|
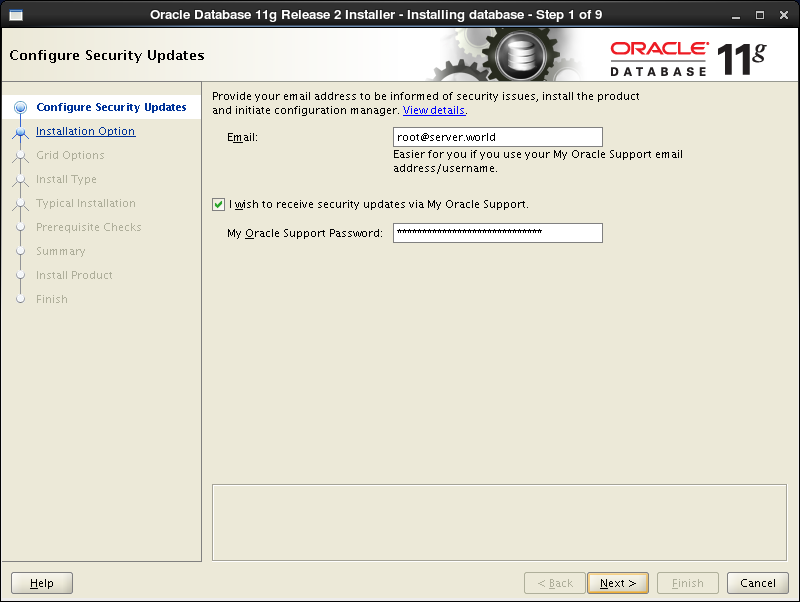
| [4] | 上記コマンド実行後、以下のようにインストーラが起動します。 まずはセキュリティに関する情報等を受け取るためのメールアドレスと Oracle サポートのパスワードを入力します。 |
|
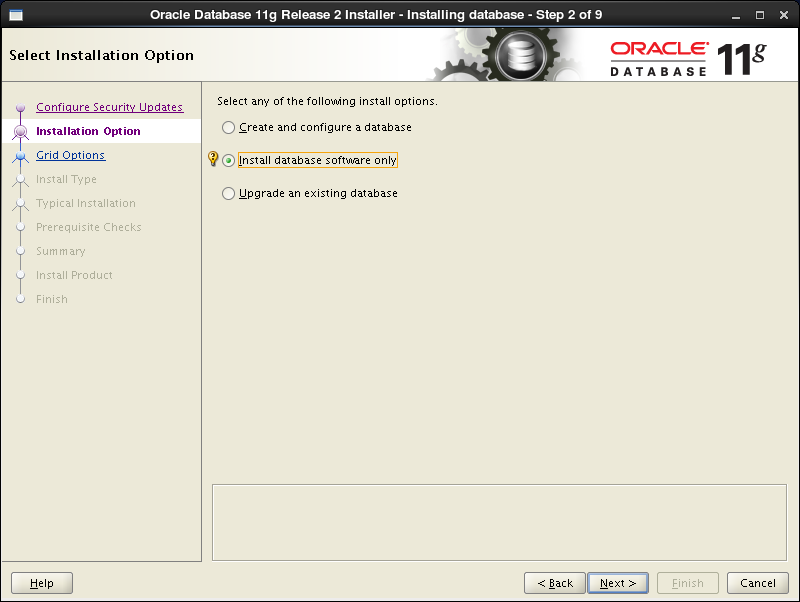
| [5] | データベースは後ほど作成するとして、ここでは中段のソフトウェアのみインストールするを選択して次へすすみます。 |
|
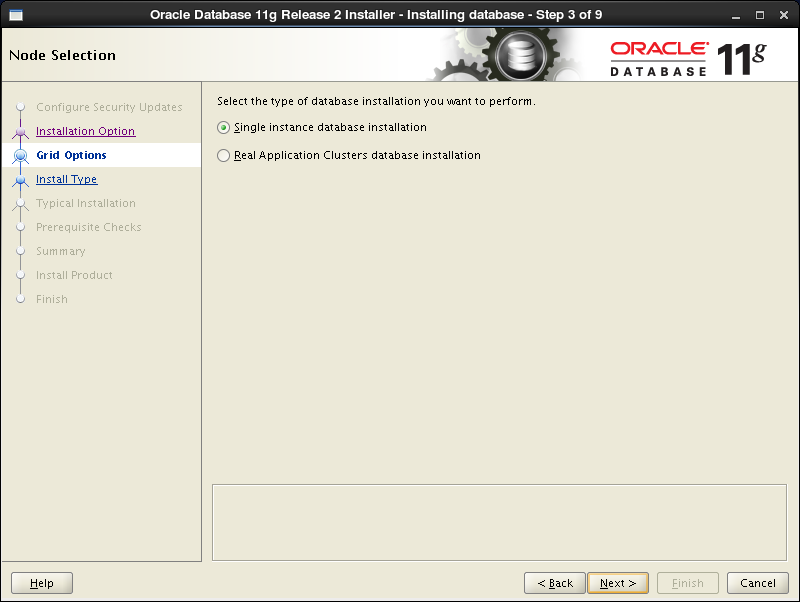
| [6] | ここでは上段のシングルインスタンスDBですすめます。 |
|
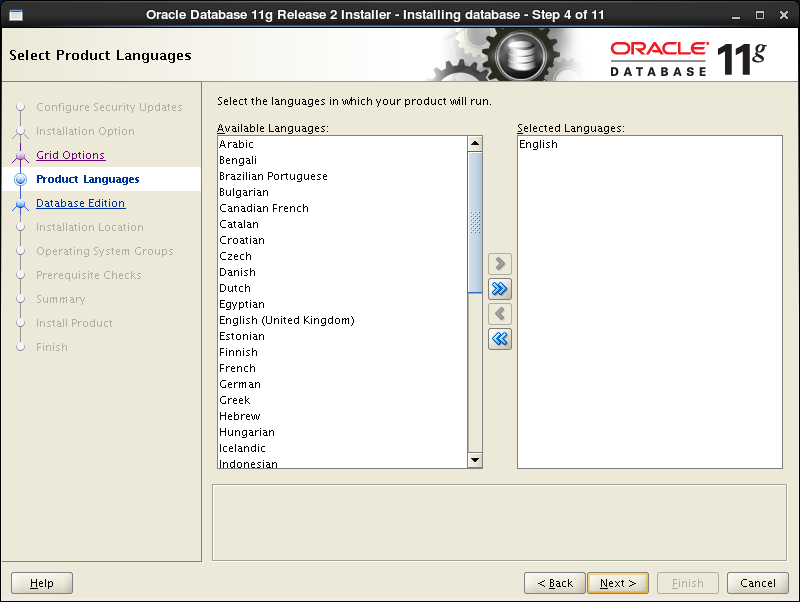
| [7] | 言語を選択します。 |
|
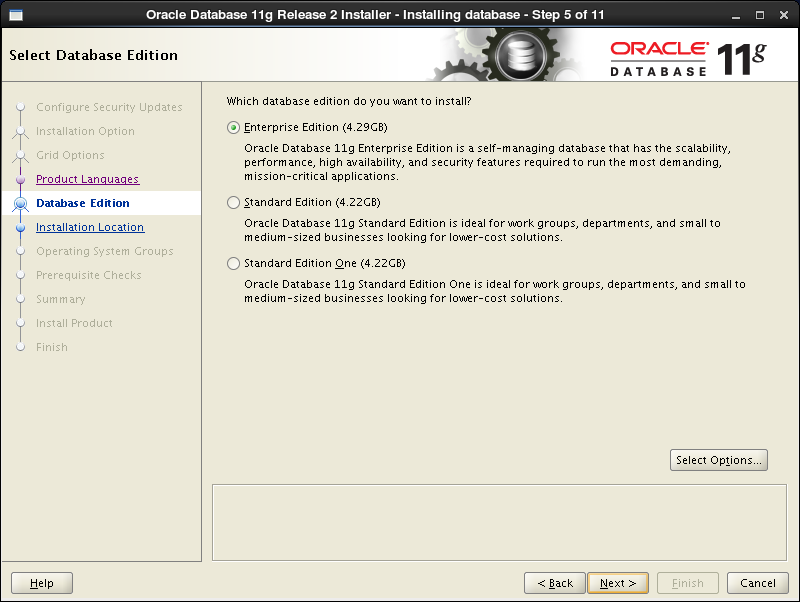
| [8] | インストールするエディションを選択します。 |
|
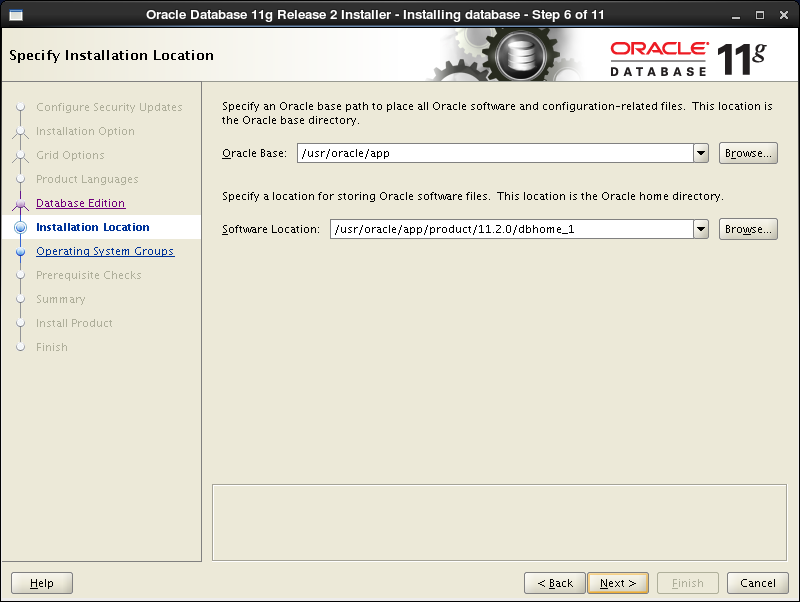
| [9] | Oracle のベースディレクトリやファイルの場所を指定します。ここではデフォルトのまま進めます。 |
|
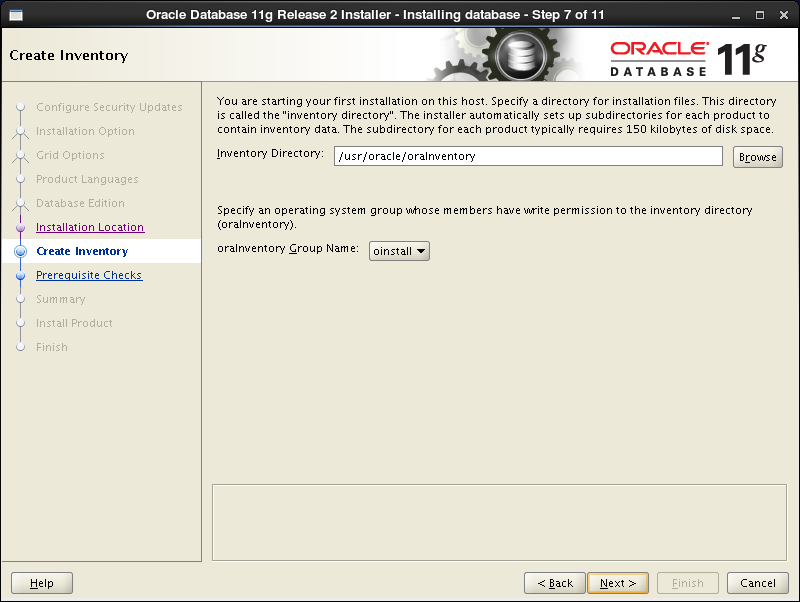
| [10] | インストール用ファイルのディレクトリを指定します。ここではデフォルトのまま進めます。 |
|
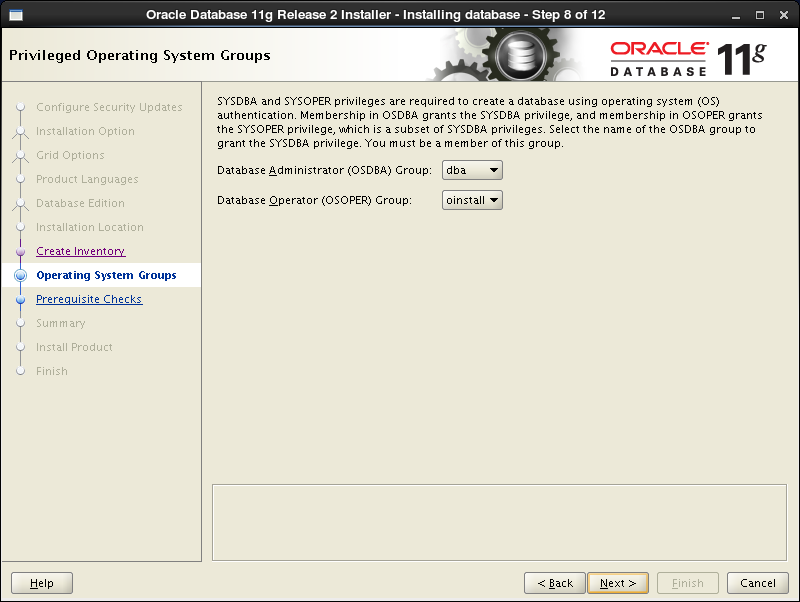
| [11] | 特権グループを指定します。ここではデフォルトのまま進めます。 |
|
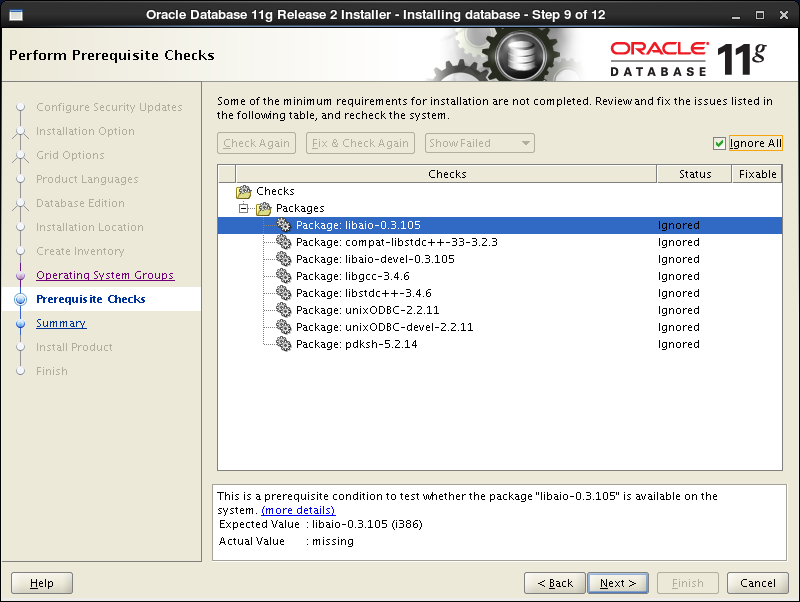
| [12] | Oracle Databse をインストールするための推奨要件のチェックになります。 CentOS 6 だと、通常、以下のようにいくつかのパッケージがひっかかります。 しかしこれらのパッケージは、実際にインストールされているバージョンが推奨要件よりも上のバージョンであるものばかりで問題はないため、「Ignore All」にチェックを入れ次へ進みます。 (pdksh については公式リポジトリから提供されていない上に、さほど必要性もないので ignore します) |
|
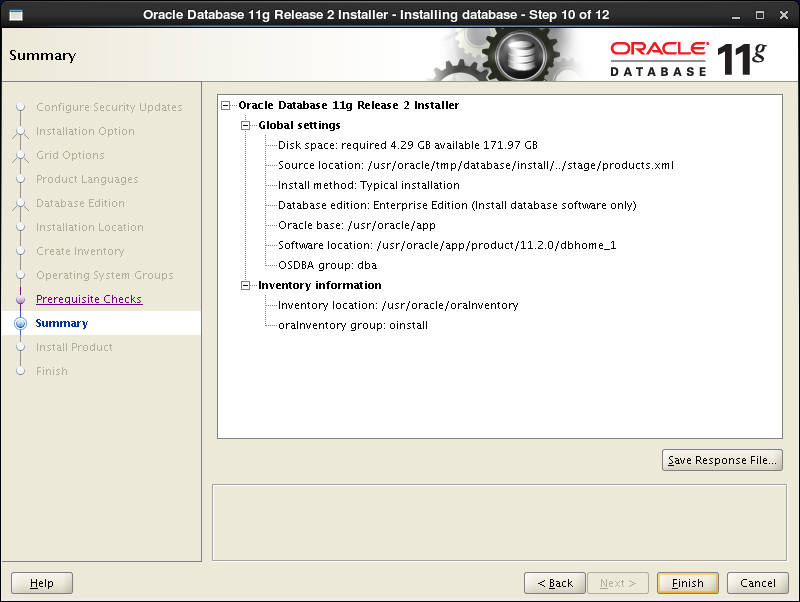
| [13] | これまで設定入力してきたもののサマリーです。よければ「Finish」をクリックしてインストールを開始します。 |
|
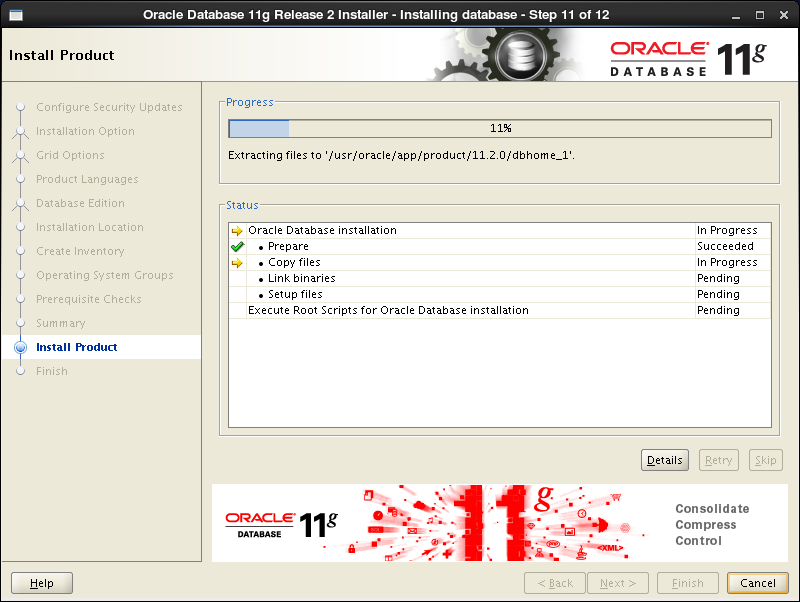
| [14] | インストールが進行していきます。 |
|
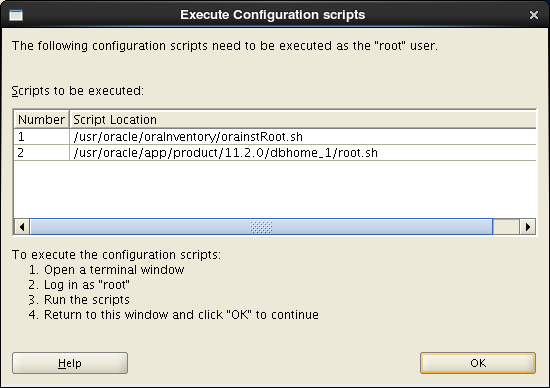
| [15] | 以下の画面が表示され、rootユーザーアカウントで、表示されているスクリプトを実行するよう求めらるので、別端末を開く等して rootユーザーアカウントに遷移して以下のように実行してください。 実行後 OK ボタンをクリックしてください。 |
|
|
[root@db01 ~]# /usr/oracle/oraInventory/orainstRoot.sh Changing permissions of /usr/oracle/oraInventory. Adding read,write permissions for group. Removing read,write,execute permissions for world. Changing groupname of /usr/oracle/oraInventory to oinstall. The execution of the script is complete. [root@db01 ~]#[root@db01 ~]# /usr/oracle/app/product/11.2.0/dbhome_1/root.sh
Running Oracle 11g root.sh script...
The following environment variables are set as:ORACLE_OWNER= oracle
ORACLE_HOME= /usr/oracle/app/product/11.2.0/dbhome_1
Enter the full pathname of the local bin directory: [/usr/local/bin]: # Enter Copying dbhome to /usr/local/bin ... Copying oraenv to /usr/local/bin ...
Copying coraenv to /usr/local/bin ...
Creating /etc/oratab file...Entries will be added to the /etc/oratab file as needed by Database Configuration Assistant when a database is created Finished running generic part of root.sh script. Now product-specific root actions will be performed. Finished product-specific root actions. |
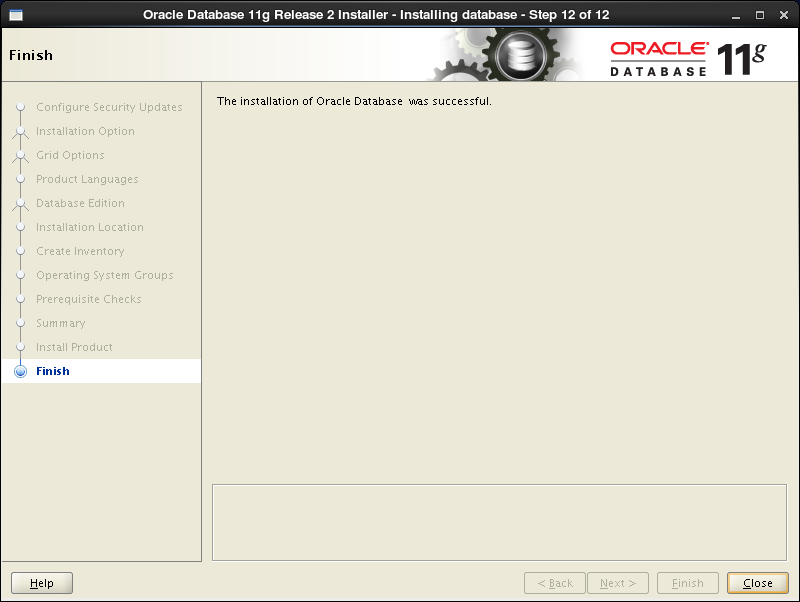
| [16] | インストール完了です。「Close」ボタンをクリックして終了します。 |
|
| [17] | Oracle ユーザーの環境変数の設定と、インストールに使用した一時フォルダの削除をしておきます。 |
|
[oracle@db01 ~]$
vi ~/.bash_profile # 最終行に追記
export ORACLE_HOME=$ORACLE_BASE/product/11.2.0/dbhome_1
export PATH=$PATH:$ORACLE_HOME/bin source ~/.bash_profile [oracle@db01 ~]$ rm -rf tmp
|
関連コンテンツ