Sensu : Add Target Hosts (Windows)2017/11/08 |
|
Sensu Client program is provided not only for Linux, but for Windows, macOS, FreeBSD, Solaris, IBM AIX.
On this example, Install Sensu Client and configure on Windows Host.
|
|
| [1] |
Download and install Sensu Client from Sensu official site.
⇒ https://sensuapp.org/downloads |
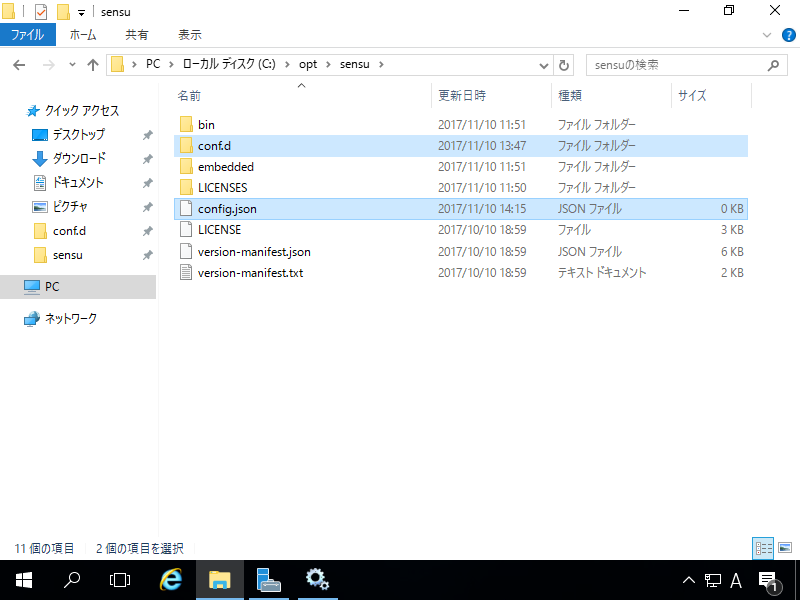
| [2] | After installing, create a empty fire [config.json] under the [C:\opt\sensu] and also [conf.d] folder. |
|
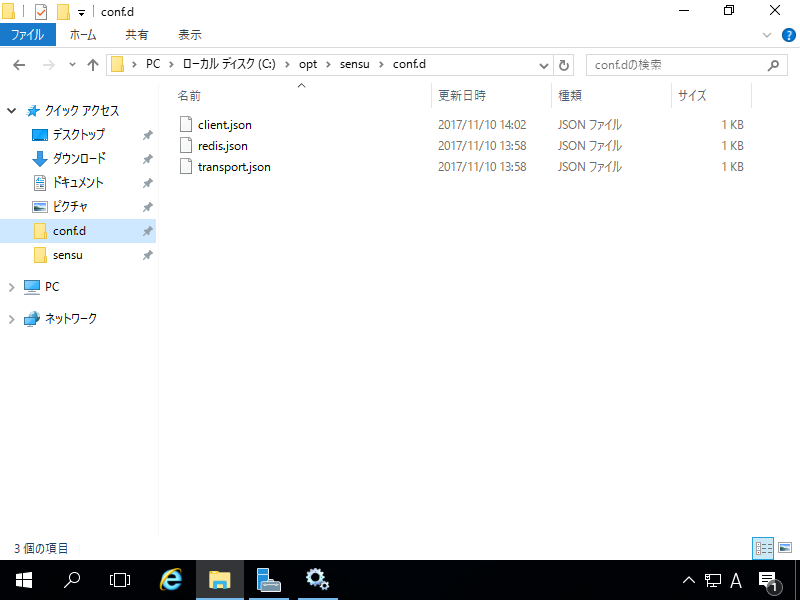
| [3] | Create files [client.json], [transport.json], [redis.json] under the [conf.d] folder. |
|
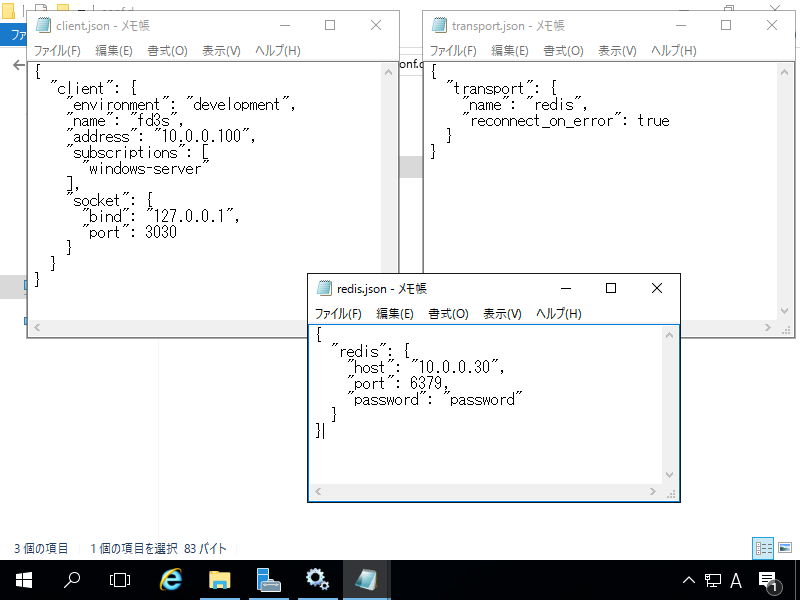
| [4] | Configure files [client.json], [transport.json], [redis.json] like follows. For [address] setting on [client.json], it is the own address, for [host] on [redis.json], it is Sensu server's address. |
|
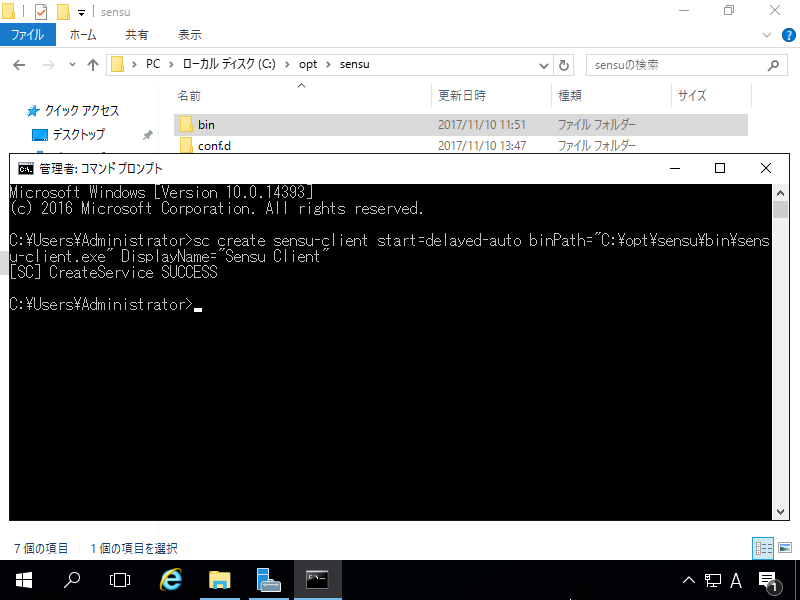
| [5] | Run command prompt with admin privilege and execute commands like follows. C:> sc create sensu-client start=delayed-auto binPath="C:\opt\sensu\bin\sensu-client.exe" DisplayName="Sensu Client" |
|
| [6] | [Sensu Client] service is just added, start it. |
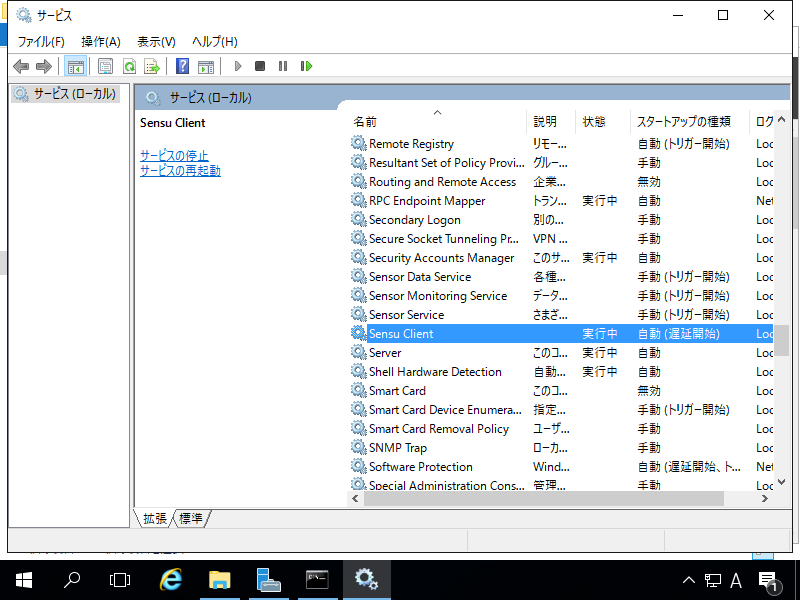
|
| [7] | Access to Uchiwa Dashboard and verify new target host checks are shown normally. |
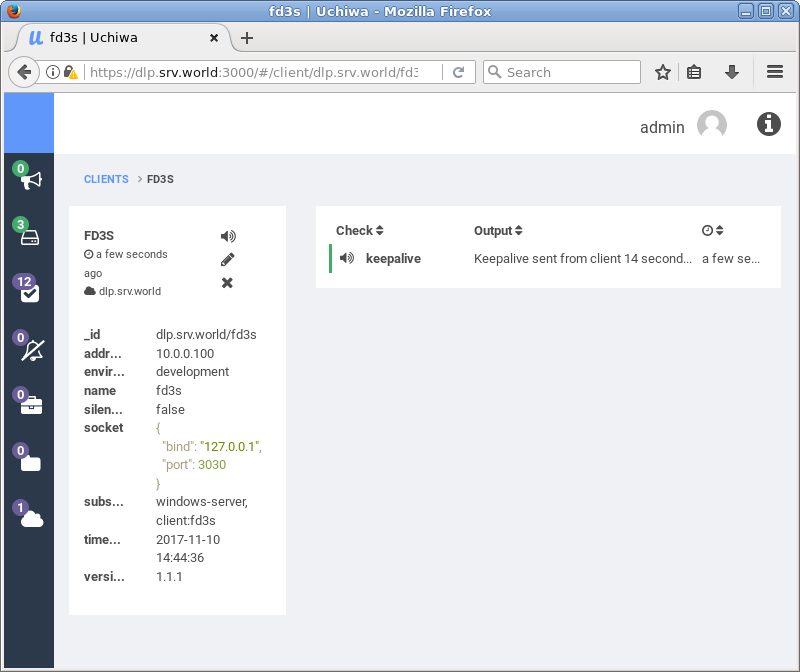
|
Matched Content